Buy Youtube Subscribers
Article Summary
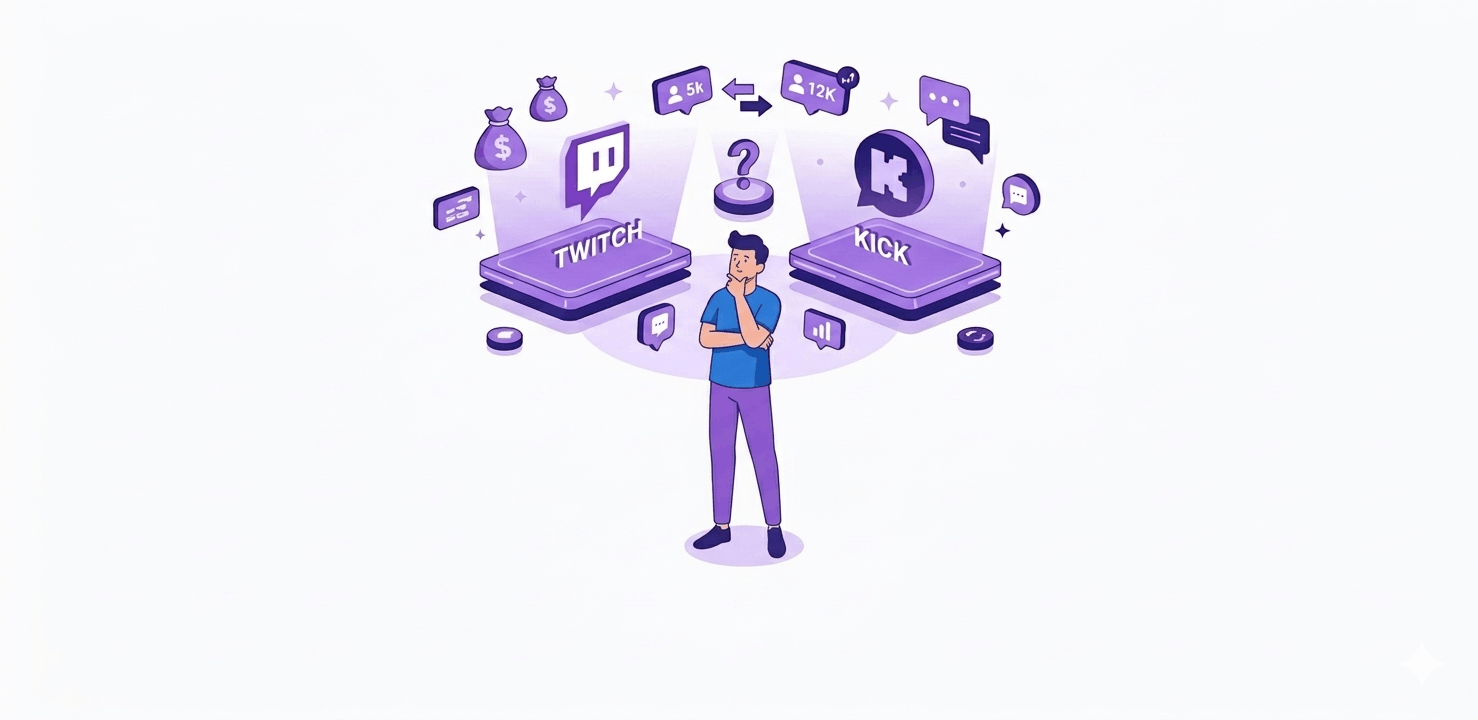
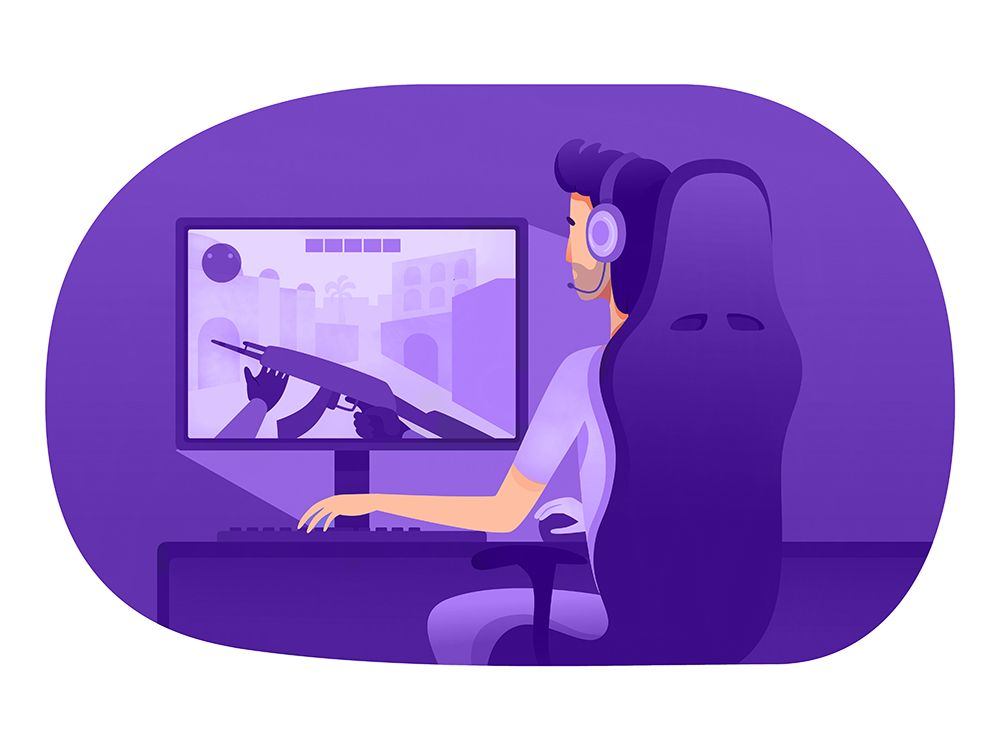
All those hours you spend streaming on Twitch disappear once you log off. However, that very same time you’ve streamed could be converted into YouTube videos and earn views years after. In this video, you will get a detailed step-by-step tutorial on how to save the videos of your Twitch streams, download them from Twitch, edit the video into a form that is ready to be viewed, and finally make YouTube discover your videos. I will also show you how to create a whole week worth of videos out of just one stream.
The more eagle-eyed Twitch users will have noticed that you can hook your Twitch account up to a YouTube account and allow automatic VOD uploads from Twitch to YouTube. You would think this is a good thing, but it isn’t. When you use that feature, the entirety of the VOD will be uploaded. You know, that multi-hour stream you just recorded? We are sure it is brilliant, but it isn’t quite YouTube material.
You see, YouTube viewers are probably not going to want to watch multi-hour videos. They are going to want to watch quick snippets, probably no more than 20-30 minutes in length. Maybe an hour max, if your content is good. Thankfully, this also works to your advantage. The more videos you have on your YouTube account, the more cash you rake in.
In this blog post, we’re going to walk you through the exact steps for editing and posting your Twitch VODs on YouTube. While we know that there are tools on Twitch that will let you edit your VOD on the website, we’re going to use another method. This is because we want you to have more control over the editing process. This will make for more views on YouTube. Download your Twitch VODs easy with our in house built tool.
Creating Twitch VODs
Twitch doesn’t create VODs by default. So, before we can start editing those Twitch VODs for YouTube (or providing more content for your Twitch viewers to see), you’ll need to enable VODs. This is easy:
- Open up the Creator Dashboard
- Select ‘Settings’
- Click ‘Stream’
- Look for the option ‘Store Past Broadcasts’
- Turn this feature on
Fantastic! Now, every single Twitch stream will be stored as a VOD. Don’t worry if you have a stream that’s a little bit terrible. It happens to the best of us. You’re free to delete any VOD that’s created.
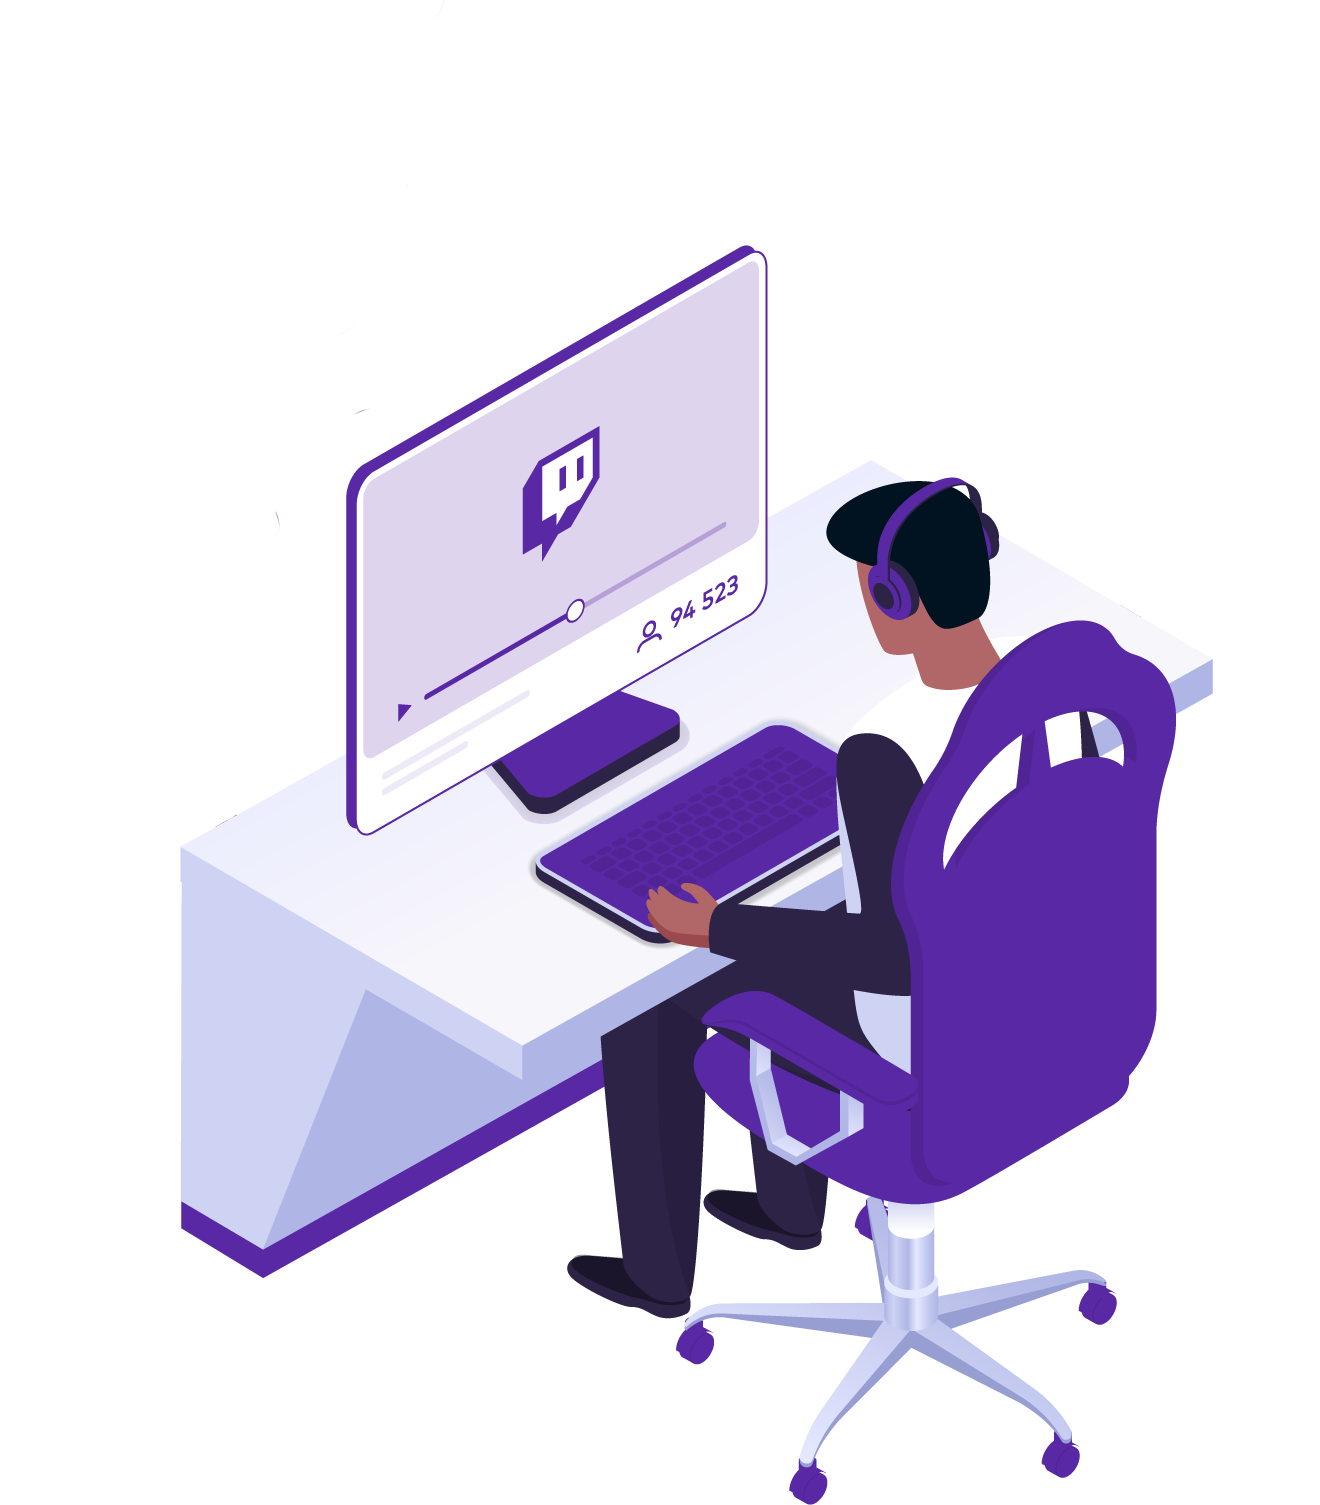
Downloading Your Twitch VODs
Have a VOD that you really want to share on YouTube? Great! Let’s give it a download!
This is how you do it:
- Open up the Creator Dashboard
- Look for ‘Content’
- Look for ‘Video Producer’
- Look for the VOD you want to download.
- Click the button to the right of it and select ‘Download’.
Simple!
We recommend that you do this regularly, even if you don’t plan on uploading something to YouTube. Since September 2023, Twitch has put huge limits on how long VODs stay up. So, if you don’t download something, it could disappear from the face of the earth in as little as 7 days.
Editing Your Twitch VODs
The reason why we didn’t want you editing your Twitch VODs through the Twitch interface is that it doesn’t give you a ton of control. The ability to create thumbnails is a little bit sporadic too. Only some Twitch users can create custom thumbnails for their VODs. Oh, and we also want you to get used to editing for YouTube. You’re not going to be doing too much major editing here, but if your YouTube popularity starts to ramp up due to your twitch followers, then you’ll want to get fancier with your editing.
First things first, you’ll need to download some video editing software. There are plenty of options out there, but you won’t need anything too fancy for trimming your 6-hour Twitch epics into more manageable chunks. This means that you can get away with some free software. We recommend one of these:
- Kdenlive
- DaVinci Resolve
- CapCut (for absolute beginners)
How you edit your Twitch VOD here will be completely dependent on the software, but things should be fairly self-explanatory. All you need to do is:
- Open up the Twitch VOD in the video editing package.
- Use the trimming tools to trim down your sections.
- Save as individual videos.
If you’re stuck, you’ll find plenty of advice online.
Your goal here is to split your Twitch VOD into smaller chunks. For example, with a 6-hour VOD, you can probably get 6-12 YouTube videos from it.
You don’t need to do any crazy editing here. Just the raw video should be fine. However, as you gain a bit more traction on Twitch and YouTube, we suggest that you cut out the more boring parts of your Twitch VOD uploads (and yes, we all create boring content at times!).
Uploading Your Twitch VODs to YouTube
Got your Twitch VODs? Fantastic! There’s one final part of the process. The most important part, really. We’re going to be uploading your Twitch VODs to YouTube.
This is simple, and is really a two-stage process since we’re going to want to create some custom thumbnails here too:
- Sign into your Google/YouTube account.
- Go to https://studio.youtube.com/
- Click ‘Upload Videos’
While you can upload multiple videos at once, we suggest that you only do one of your Twitch VOD edits per day. This will keep people’s eyes on your channel. It also makes things a little bit messy. So, if you have trimmed a 6-hour Twitch epic into 6 videos, you have 6 days of content.
Once your video is uploaded, hit the pencil button next to it. This will allow you to edit the details. It is from this page that you can edit the thumbnail. You can use any section of the video for your thumbnail, but we prefer to upload custom thumbnails to help with branding on the channel (all thumbnails should look roughly the same).
Once that’s done, you’re done. Your video will be visible and you can start to rake in those sweet YouTube views!
Optimise Your Video Before You Upload
However, editing is not everything here because even the best video becomes completely useless if nobody can find it or, even worse, if you fail to upload it. Remember, YouTube is not a hosting service; it is a search engine.
Title – The title of your video has to reflect what you have on there and spark the viewer’s interest in it. Make sure you mention the game or your stream by name and keep your titles within 60 characters. Example: “I Clutched a 1v5 in Valorant and the Chat Went Insane” is a thousand times better than “Valorant Stream Highlight #47.”
Description – You need at least 150-200 words in the description field. Tell people what is going on in your video, provide timestamps to key moments in the video, put a link to your Twitch account, and other socials. The most important keywords are typically added in the very first two sentences since that part appears in YouTube snippets below the “Show More” cut-off line.
Tags – There are numerous online services (e.g., TubeBuddy, VidIQ) which offer tag recommendations for any type of content. Tags still play their role in categorization by YouTube, especially for gaming videos belonging to niche categories.
Thumbnail – The thumbnail is one of the most crucial aspects of making your video clickable. A customized one performs way better than the default, automatically generated YouTube thumbnail. Use the screen capture with the most exciting moments in your video, add some bold text that reflects your title, and try not to use images that lose clarity when downsized. Find thumbnail ideas for your next video with YouTube Thumbnail Downloader.
Chapters – Add timestamped sections in the description to create chapters. Chapters are displayed right in the search result, so they boost the click-through rate and watch time.
How to Turn One Stream Into a Week of YouTube Content
This is the part that streamers often overlook. A 4-hour stream does not only provide you with a YouTube video; you get to generate a library of content if you play your cards right.
You can generate a full 20-30 minute edit of the stream as a highlight video, one or two smaller videos of 5-10 minutes dedicated to some parts of the stream, as well as several YouTube Shorts from some of the best moments, and finally, content for TikTok and Instagram Reels, which will include the same vertical edits.
In total, you end up with 8-10 different pieces of content, generated from one stream. Yes, it takes time and effort to edit them all, but the benefits will multiply. Any video you upload to YouTube serves as a permanent search result for your Twitch account. As new people start streaming to your page from YouTube, they will first check out how many followers and views you have on your channel.
If those numbers are satisfactory, there’s a higher chance that they will continue watching and eventually subscribe to your page. Here you see how promoting yourself on Twitch and YouTube complement each other.
The Full Workflow
| Step | Action | Tool |
|---|---|---|
| 1 | Enable Store Past Broadcasts | Twitch Creator Dashboard |
| 2 | Download your VOD | Twitch Video Producer / Streamerplus VOD Downloader |
| 3 | Edit down to highlights | DaVinci Resolve / Kdenlive / CapCut |
| 4 | Replace any copyrighted music | Epidemic Sound / YouTube Audio Library |
| 5 | Create custom thumbnail | Canva / Photoshop |
| 6 | Research title and tags | TubeBuddy / VidIQ |
| 7 | Upload with full metadata | YouTube Studio |
| 8 | Add chapters and schedule | YouTube Studio |
Have any questions?
All questions about Twitch bits answered, below

Should I be editing my VODs or uploading them raw?
Uploading raw VODs works but is not optimal for YouTube. An unedited raw VOD requires quite a lot of time commitment on behalf of your random YouTube user, who may not even know who you are. Condensing the best 20-30 minutes from the 4 hours of streaming is beneficial not only to your viewers but also to your metrics.
What is a good length for my YouTube VOD videos?
There’s really no optimal video length but 15-30 minutes works just fine when it comes to gaming highlights. Lengthy enough to fit the content, not too lengthy to be able to watch everything without losing the pace. However, if you have some great streams, feel free to make a longer video but don’t extend it beyond one hour.
Will Twitch restrict me from using my VOD for YouTube?
It won’t unless you are affiliated with Twitch. The service’s terms of service require all Affiliates and Partners to allow a 24-hour grace period between finishing their stream and publishing the content somewhere else.
Can I upload my video which includes copyrighted music?
No. Make sure to remove it because YouTube is very restrictive when it comes to copyrighted material. Their Content ID system will either mute the clip, block your video in some countries, or divert profits earned from the video to the rights owner. There are plenty of royalty-free options available on Epidemic Sound or YouTube Music Library.
How often should I upload VOD content to YouTube?
The less often, the better as far as YouTube is concerned. One properly edited upload every week and consistently keeping to it for the next six months will yield far better results than uploading a couple of videos in the beginning of January and then forgetting about it.
My VOD expired before I was able to download it — what now?
There’s no way to recover your VOD if it expired on Twitch. From now on, turn on Store Past Broadcasts and download your clips regularly. Think of this as a process of backing up an important document.

Drew Caldwell
Author, Contributor, Social Media ExpertMarvin McKinney is a consultant, researcher, and editor-in-chief of the Streamerplus blog. His expertise lies in the realms of social media, marketing, and digital strategy. Marvin McKinney has extensive knowledge on STEM Management and how to use data analytics to aid creators with algorithm management and audience growth.